Night-Train Transformation
Night-Train Transformation
-
£0.00
-
Product Code:Custom Harley Softail
-
Availability:In Stock
All aboard..... the Night Train... Choo Choo!
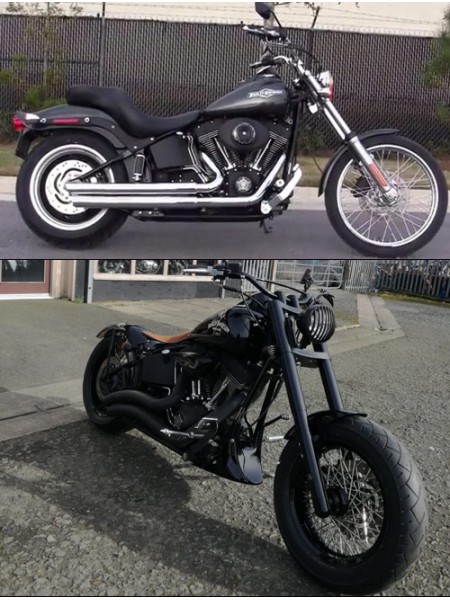
Nothing like a good softail to get the juices flowing, and whereas in my humble opinion the standard Night-Train is not the most inspiring bike, it does provide a good platform on which to start a build.
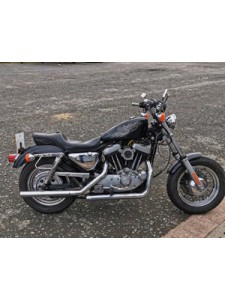
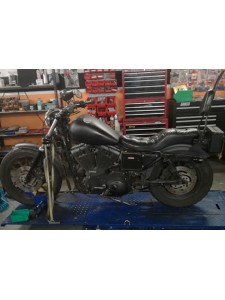
Andy had changed this bike up a little before it arrived, he uses the bike all the time and had his fun, however he wanted a radical revision to inject some new love into his life.
This was a fun build, as Andy basically gave us free reign to work, although a few mind-changes mid-way meant it ran on a little longer than expected, but that is not unusual, and in truth, the little last minute changes really made a big difference.
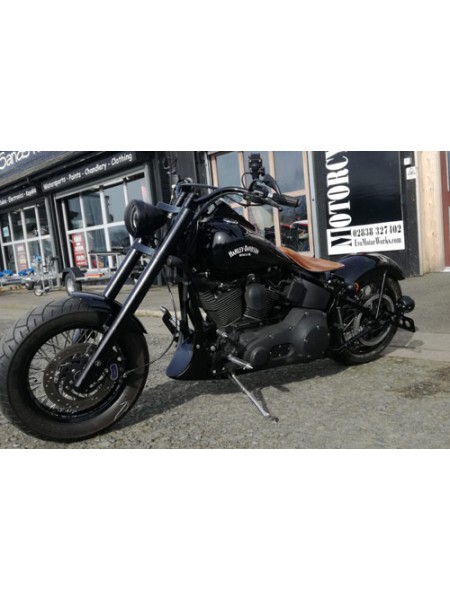
Front to back Up front the bike is fitted with a beautiful SJP fork and triple-tree setup which pushes a 16” freshly powder-coated gloss black rim. The rim was laced with 60 fat stainless spokes and is shod in a 150 tyre. The wide front end is complete by a custom made short front guard which does enough to keep the dirt and rain of your grinning bonce.
We fabricated a special slim mount bracket to hold the front indicators, which mounts just under the bottom yoke. A set of pull-back vintage motocross style bars were fitted and as Andy uses this bike, a set of heated grips and a mount for his sat nav were installed.
“The white tank decals were a last minute request” At some point in its life someone had tried to extend the tank and although they made a decent fist of it, it wasn’t right.
So we set about grinding away all the lumps and bumps, made it a bit rounder and smoother, we then gave the whole bike a coat of gloss black. The white tank decals were a last minute request, and were a good call as they really give the tank a vintage HD look.
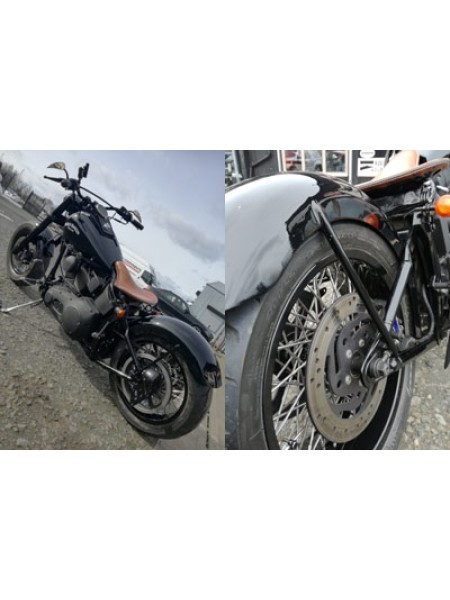
We spent lots of time on the rear end because it had to look well but function even better. We started with a raw steel fender, cut, heated, bent, twisted, shaved, drilled, cursed, ground, filed, cursed, and cut some more before we ended up with a piece that would begin to resemble the end product.
It was tricky getting the clearance right over the rear wheel which runs a 200 tyre and that means it almost fills the full of the fender, with just enough room for some tyre swell. We also had to be mindful of the belt clearance and contour the fender closely to the softail rear swinging arm. Working with metal is nice, if you have a grinder, you can remove metal... and if you have a welder you can stick it back together!!! We done our fair share of both with this fender.
“Removing the old fender meant we had now made an ECU and several electrical components homeless” The rear wheel was built to match the front with the same 60 fat stainless spokes strung between a gloss black powder-coated rim. Removing the old fender meant we had now made an ECU and several electrical components homeless.
With space at a premium we had to be creative to re-home the parts on the bike. We decided to go for a Lithium Ion battery which was about an inch shorter than the standard, and that inch made all the difference. We were able to mount the ECU and bits n pieces above the new battery.
Just on the note of Lithium Ion batteries, it’s always tempting to go for a tiny battery which will be more than capable of powering up a big V-twin, however output is not the problem with LI. The problem arises when the charging circuit tries to push many amps back into the battery, however the tiny battery cannot handle the influx of power and this can lead to problems in the charging circuit.
TOP TIP: Always look for a LI battery which operates close to the oem batteries capacities.
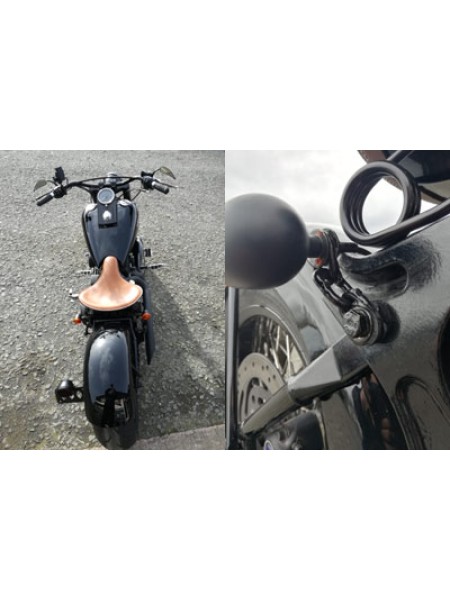
We mounted the rear indicators down low where the original rear pegs would have been fitted, however Andy likes to tuck his feet up on the rear pegs on a long ride, so we re-routed the rear indicators just below the seat on a bracket made from welded chain.
A fibreglass hood was made to cover the newly located electrical gubbins under the seat, then we mounted a vintage-bobber style saddle to complete the look.
“There were more bare wires than a mens toilet block!”
We extensively rewired this bike as those who had previously worked on her had not been kind. There were more bare wires than a mens toilet block! Every time we sorted one wiring issue, another raised its head so we ended up biting the bullet and taking the loom out to banish all the gremlins.
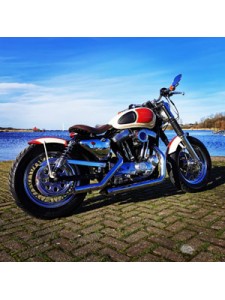
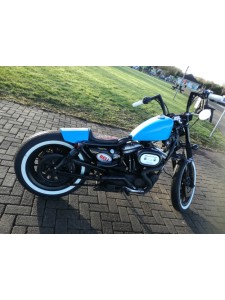
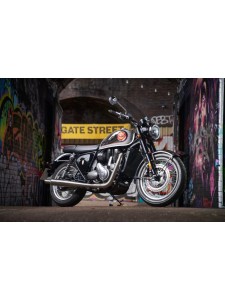
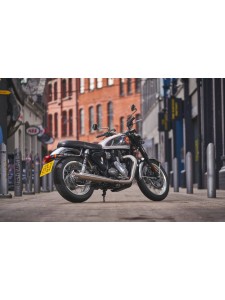
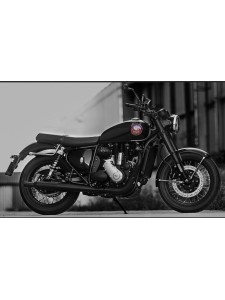
I love the final look of this bike, it is a 2006 Night-Train but it harks back to a golden era of Harley-Davidson bobbers. The long front end and fat rear tyre work perfectly together and now that the clutter has been removed, you can actually see the beauty beneath. Another one ready to run.

